R36S Complete Setup Guide: From Unboxing to Gaming in 15 Minutes
So you’ve got your hands on an R36S — welcome to the world of retro gaming! Whether you’re reliving childhood memories of playing Mario on a borrowed console or discovering classics for the first time, this pocket-sized powerhouse is about to become your favourite companion.
What You’ll Need
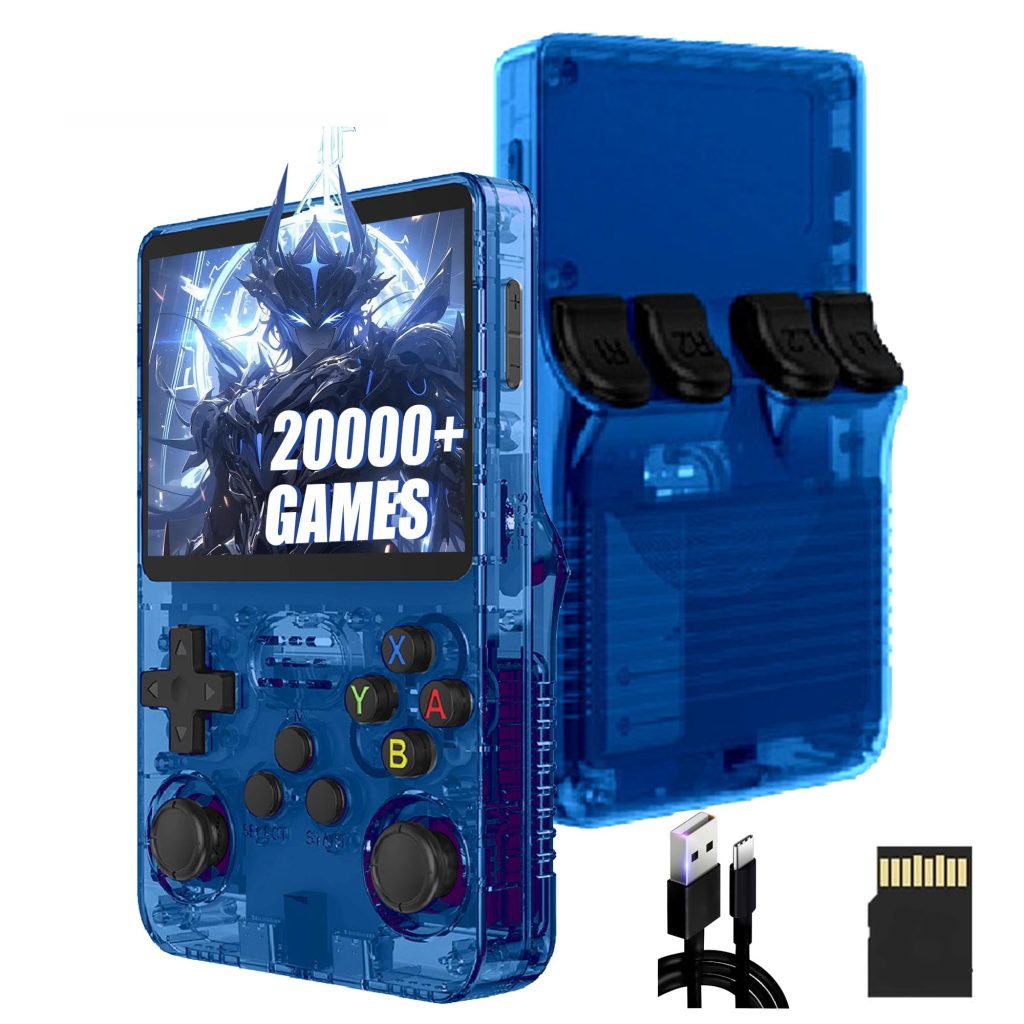
- Your R36S handheld
- A computer (Windows, Mac, or Linux)
- MicroSD card reader (if your computer doesn’t have one built-in)
- A high-quality microSD card (32GB–128GB recommended)
- Your legally-owned game files
- About 15-20 minutes of your time
We recommend purchasing a SanDisk or Samsung microSD card from Amazon India or a trusted local retailer. Avoid suspiciously cheap cards from unknown sellers — counterfeits are common and can corrupt your data.
Is Your R36S Authentic?
Before diving in, let’s make sure you have the real deal.
The market is flooded with R36S clones, especially from sellers offering prices significantly below ₹4,500. These knockoffs often feature inferior TN screens (washed-out colours, poor viewing angles) instead of the vibrant IPS display on the authentic R36S.
Signs of an authentic R36S:
- Crisp 3.5″ IPS display with vivid colours visible from any angle
- Solid build quality with responsive buttons
- Comes with ArkOS or compatible firmware pre-installed
- Display resolution of 640×480
Signs of a clone:
- Dull, washed-out screen with poor viewing angles
- Creaky plastic and mushy buttons
- Random or incompatible firmware
- Often ships without proper packaging
If you suspect you have a clone, the setup process may differ, and you might face compatibility issues with custom firmware.
Step 1: Understanding Your R36S Hardware
Let’s get familiar with what’s under the hood:
| Specification | Details |
|---|---|
| Processor | RK3326 Quad-core |
| RAM | 1GB DDR3 |
| Display | 3.5″ IPS, 640×480 |
| Battery | 3200mAh (4-6 hours gameplay) |
| Storage | Dual microSD slots |
| Connectivity | USB-C, 3.5mm audio |
Key buttons to know:
- D-pad and analogue stick — Navigation and gameplay
- A/B/X/Y — Action buttons
- L1/L2, R1/R2 — Shoulder buttons
- Start/Select — Menu and system functions
- Function (FN) — Special hotkey combinations
Step 2: The Dual SD Card Setup (Recommended)
Your R36S has two microSD slots. Here’s the smart way to use them:
Slot 1 (TF1): Operating System
Slot 2 (TF2): Games and saves
Using two separate cards means you can upgrade or change your firmware without losing your game collection. Trust us — this saves headaches later!
Setting Up Your Cards
- Insert your OS card (the one that came with your R36S or your custom firmware card) into Slot 1 (TF1)
- Insert your games card into Slot 2 (TF2)
- Power on the device — it should boot to the main menu
If you only have one card, that’s fine too. The device works with a single card containing both the OS and games.
Step 3: Basic Navigation and Controls
Before adding games, let’s master the essential controls:
Navigating Menus
- Use the D-pad or analogue stick to browse
- Press A to select
- Press B to go back
Exiting Games (Important!)
This trips up many new users:
- Press Start + Select simultaneously
- Select Quit from the menu
- You’ll return to the game selection screen
Never use the power button to exit games! This can corrupt your save data and, in some cases, damage the SD card filesystem.
Shutting Down Properly
- Return to the main menu
- Navigate to Settings or Power
- Select Shutdown
- Wait for the screen to go completely dark before putting the device away
Step 4: Adding Games to Your R36S
Now for the exciting part — loading up your game library!
Method 1: Direct SD Card Transfer
- Power off your R36S completely
- Remove the games SD card (Slot 2) or your single SD card
- Insert the card into your computer’s card reader
- Open the card in File Explorer (Windows) or Finder (Mac)
You’ll see folders organised by system:
ROMS/
├── GBA/          (Game Boy Advance)
├── GBC/          (Game Boy Colour)
├── NES/          (Nintendo Entertainment System)
├── SNES/         (Super Nintendo)
├── PS1/          (PlayStation 1)
├── SEGA/         (Mega Drive/Genesis)
└── ...and more
- Copy your game files into the appropriate folders
- Safely eject the card
- Insert it back into your R36S
- Power on and enjoy!
For PS1 games, use .bin + .cue or .chd format. CHD files are compressed and save significant space — perfect if you’re working with a smaller SD card.
Method 2: USB Transfer (If WiFi Dongle Available)
The R36S doesn’t have built-in WiFi, but you can use a USB WiFi dongle for wireless transfers. However, for most users, the direct SD card method is faster and more reliable.
Step 5: Updating Your Firmware
The firmware that ships with the R36S is often outdated. Updating gives you:
- Better emulator performance
- More customisation options
- Bug fixes and stability improvements
- Support for additional systems
Recommended Firmware Options
| Firmware | Best For |
|---|---|
| ArkOS | All-round performance, great community support |
| MinUI | Clean interface, simplicity-focused |
| GammaOS | Performance tweaks, Android-like experience |
We’ll cover detailed firmware installation in a separate guide. For now, the stock firmware works perfectly fine for getting started.
Step 6: Optimising Your Experience
Adjusting Display Settings
- Enter a game and press Start + Select
- Navigate to Settings → Video
- Adjust:
- Brightness — Lower for better battery life
- Scaling — “Integer scaling” for pixel-perfect display
- Filters — Add CRT or LCD effects for nostalgia
Battery-Saving Tips
- Lower screen brightness to 50-60%
- Disable WiFi dongle when not in use
- Use sleep mode for short breaks (quick press of power button)
- Keep volume at moderate levels
Creating Save States
Never lose progress again:
- During gameplay, press Start + Select
- Select Save State
- Choose a slot (you get multiple!)
- To load, follow the same steps and select Load State
Troubleshooting Common Issues
“My R36S won’t turn on”
- Ensure the battery is charged (connect USB-C for at least 30 minutes)
- Try holding the power button for 10+ seconds
- Check that SD cards are properly inserted
“Games aren’t showing up”
- Verify games are in the correct system folder
- Check file formats are supported (e.g.,
.gbafor GBA,.nesfor NES) - Refresh the game list from the system menu
- Some systems require BIOS files — we’ll cover this in another guide
“Screen looks washed out”
- Unfortunately, this often indicates a clone device with a TN panel
- Try adjusting brightness and contrast in display settings
- If colours are significantly worse than product photos, you may have received a knockoff
“Games run slowly”
- Some PS1 and N64 games are demanding
- Try overclocking in system settings (increases battery drain)
- Use optimised game versions (e.g., proper PS1 disc rips)
What’s Next?
Congratulations! Your R36S is now set up and ready for hundreds of hours of retro gaming goodness.
Upcoming guides in this series:
- Installing Custom Firmware (ArkOS) on Your R36S
- Best Emulator Settings for Each System
- Essential BIOS Files and Where to Find Them
- Top 50 Games to Play on Your R36S
- R36S vs Competitors: Which Retro Handheld is Right for You?
Quick Reference Card
| Action | How To |
|---|---|
| Exit game | Start + Select → Quit |
| Save state | Start + Select → Save State |
| Shutdown | Main Menu → Settings → Shutdown |
| Add games | SD card → ROMS/[System]/ folder |
| Adjust brightness | FN + Volume or in-game menu |